Getting started
In this example we will set up a basic app and add it to the AppStore. However you can create an App with every programming language you like, we used Vue JS in this example. If you prefer a php example, we have created the basic app with Laravel tutorial.
Prerequirements
Before you begin, we assume that you have basic knowlage of an Vue JS application. If not, you can find a starter guide here: Get started with Vue JS
You need an Camping.care account and you need to setup a test administration (Park, Camping, Hotel) to test the app.
Step 1 - Set up Vue JS
Create your Vue JS application and choose any preferences you like to work with.
npm init vue@latest
Start your development server
cd <your-project-name>
npm install
npm run dev
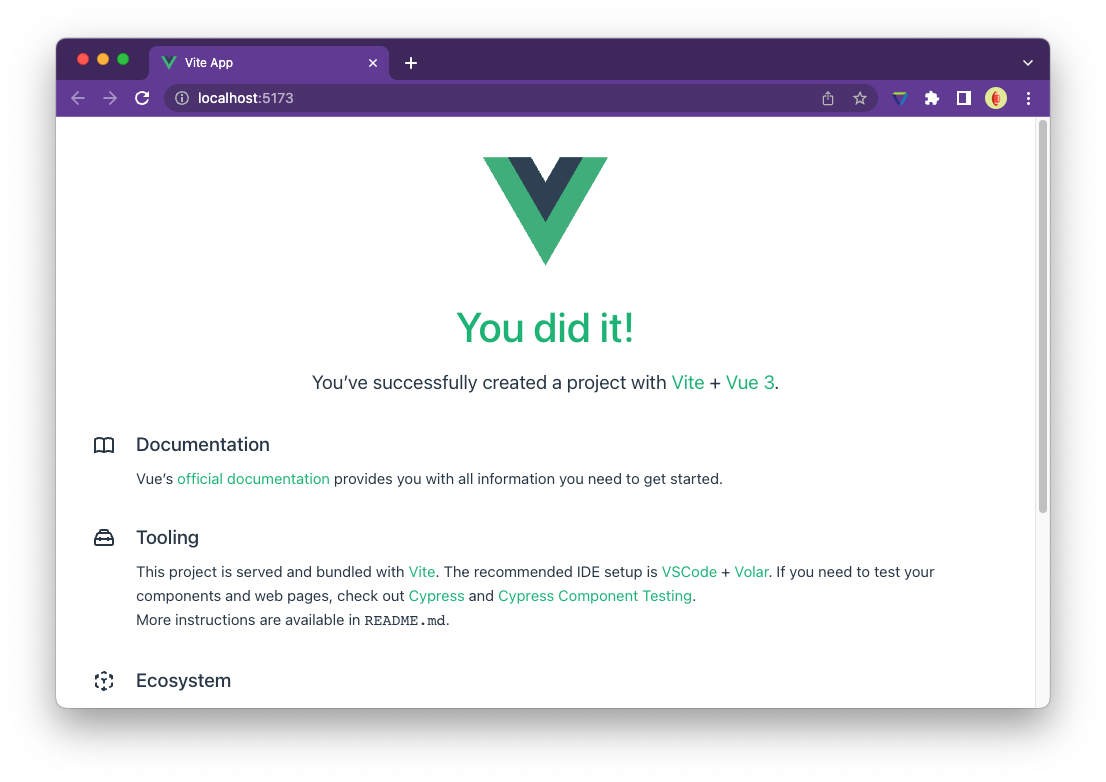
You should now view your default application like this, on your local server
E.g. http://localhost:5173/
Step 2 - Create your first app
The next step is to login to your Camping.care account and go to the AppStore.
Scroll to the botom of the page and click the button Add App.

Name your app and click on add. Now you are in the app settings screen. Here you are able to set all parameters of the app. We will describe each one of them on this page.
App settings
Images
Add an application image, this will be shown in the AppStore of the user. The best format for this image is 350px - 200px. .jpg and .png are supported.
Name (Required)
The name of the App, this will be shown in the overview of the AppStore.
Description
Give a shoer description of your App, what is does and what the benefits are for the users.
App Url
The default url of your application, in this case E.g. http://localhost:5173/. This url will be loaded when users opens your app in the app store.
To make your live easier you can use a service like Ngrok to connect your local webserver to secured public url.
For production application we require an secured (https) url. (If you run your application on your localhost, you will be the only one that can test/view the app)
However this parameter is not required, it's highly recommended to add a default app url to your app.
Make sure your app url is a clean url without any query parameters. Will add query parameters to this url to tell you if the app has been installed or uninstalled.
✅ https://example.app
❌ https://example.app?page_id=123
Category
Pick the most relavant category for your application. We will use this to sort/ filter the apps in the appstore.
Widgets
Widgets are small visualisations that can be added to the platform. For example, you to interact with your app from the reservation screen. Read more
Webhooks
Register your app for events. Like if a new reservation has been made, we can send you an webhook to notify you about this event. In this case you are able to do something with this information. Read more
Scopes
The are the rights your app needs to work propertly with the platform. Make sure you only register for the scopes you really need. Read more
Step 3 - Save your app
Save your app and you will be redirected to the app page. If every works your screen will look like this:
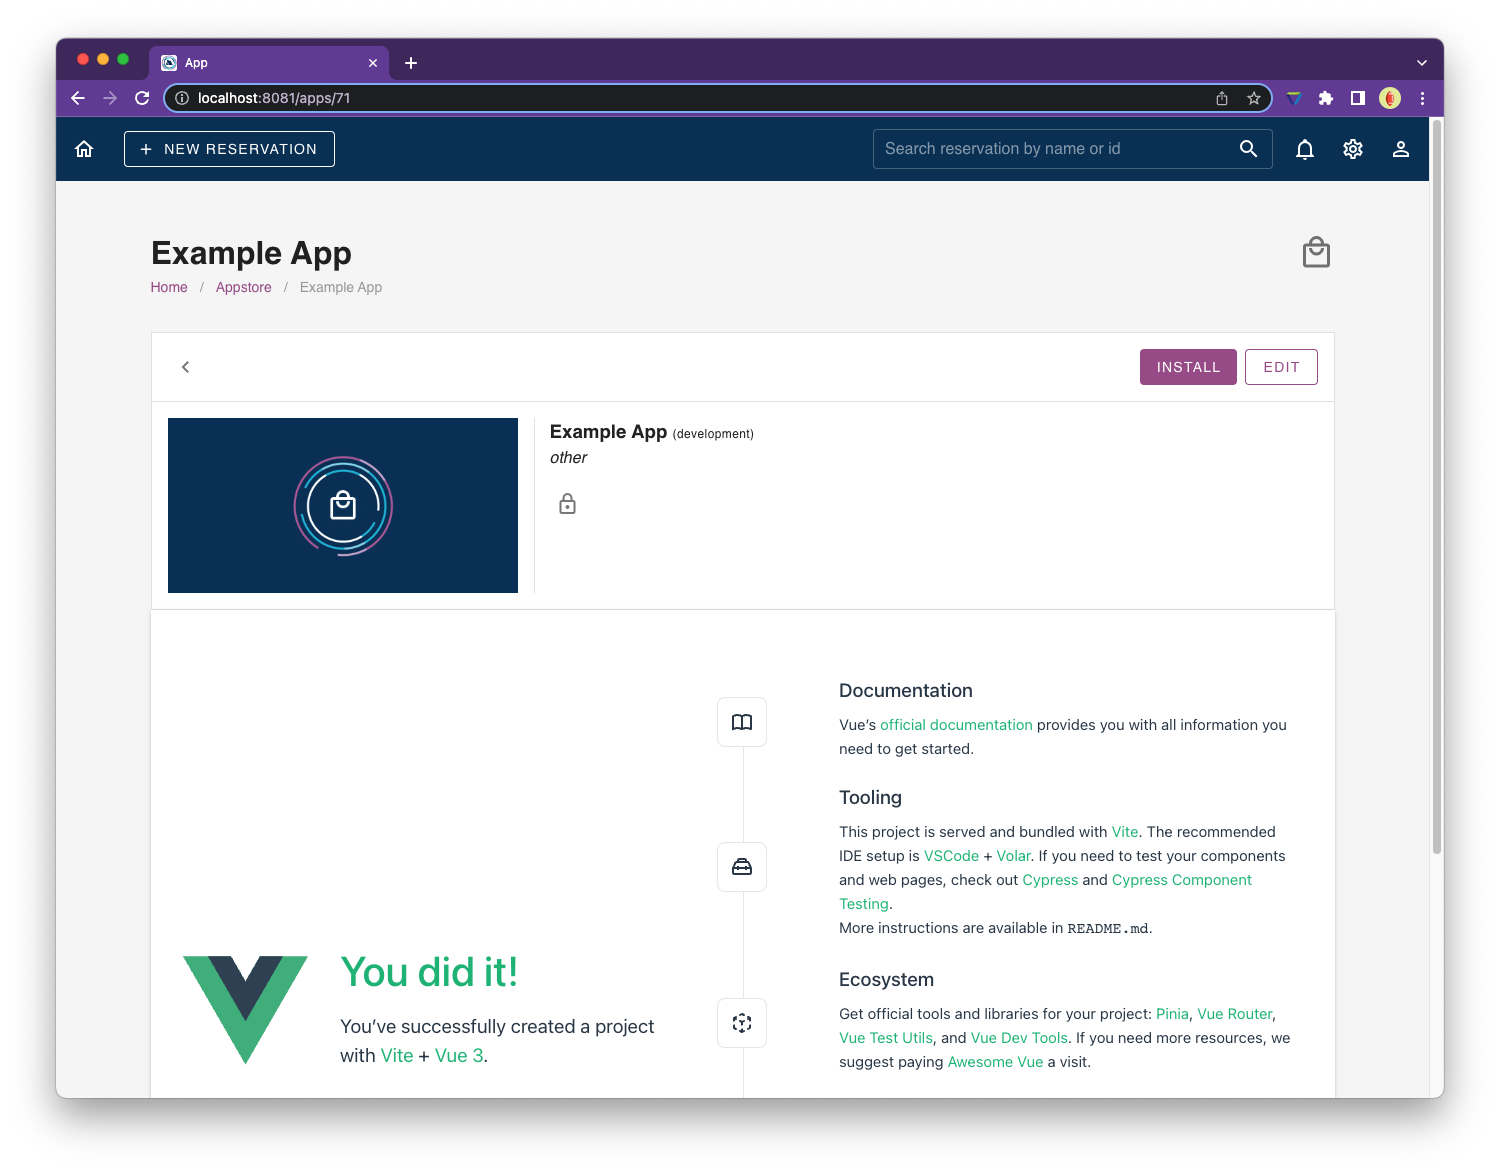
Congratulations! Your first app is ready 😋 The next step is to discover the install process and learn how to handle authentication.